
Part 2: Mini-Mainframe at Home: Installing a Modern OS
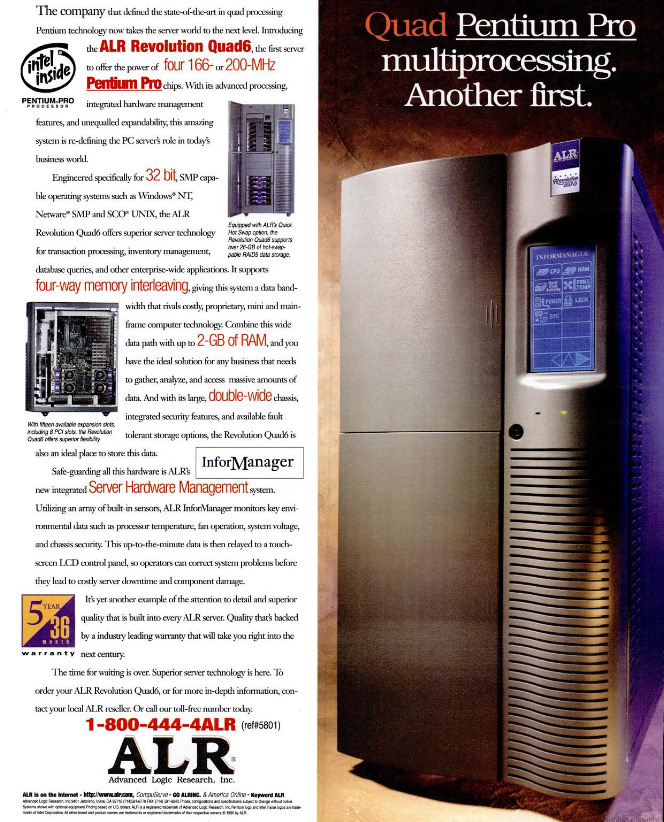
Part 2 of The Story of a 6 CPU Server from 1997 – In this section we’ll try to get a modern OS running on the ALR Revolution 6×6 with 6 Pentium Pro Processors.
For the background of the ALR 6×6 and Pentium Pro processors that form the basis of this project please see Part 1 of the project.
Part 2: Installing and Using an OS
Before you start installing the OS, you need to select the correct kernel of the operating system. To do this, at the initial stage of installation, press the F5 key.
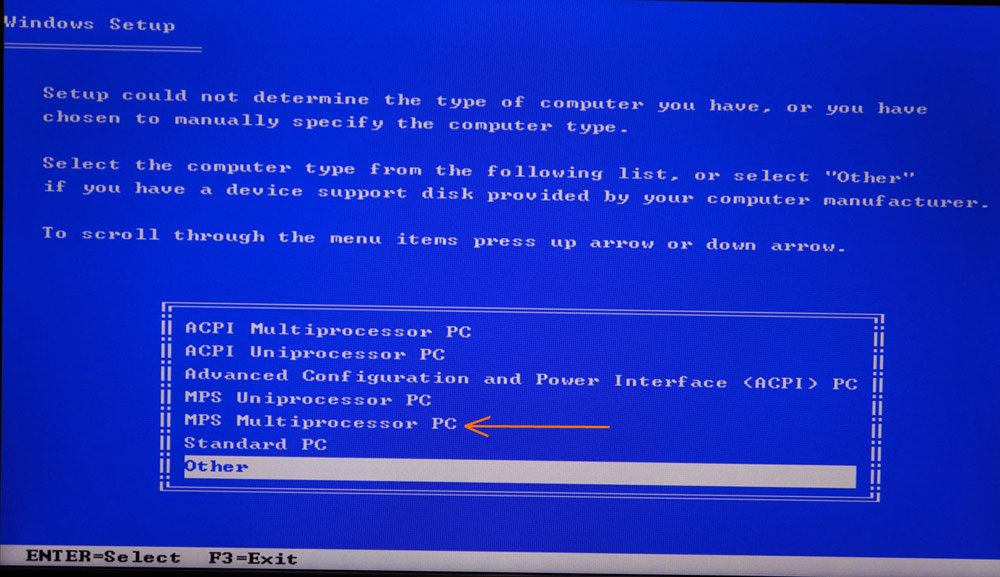
In this case, we choose – MPS Multiprocessor PC, since the other options simply do not fit, since this server naturally does not support ACPI. In general, I will advise anyone who makes such experiments by choosing a more “modern” OS, which is older than the hardware itself – to turn off ACPI support in the BIOS (if present). This simple action will keep your nerves decent.
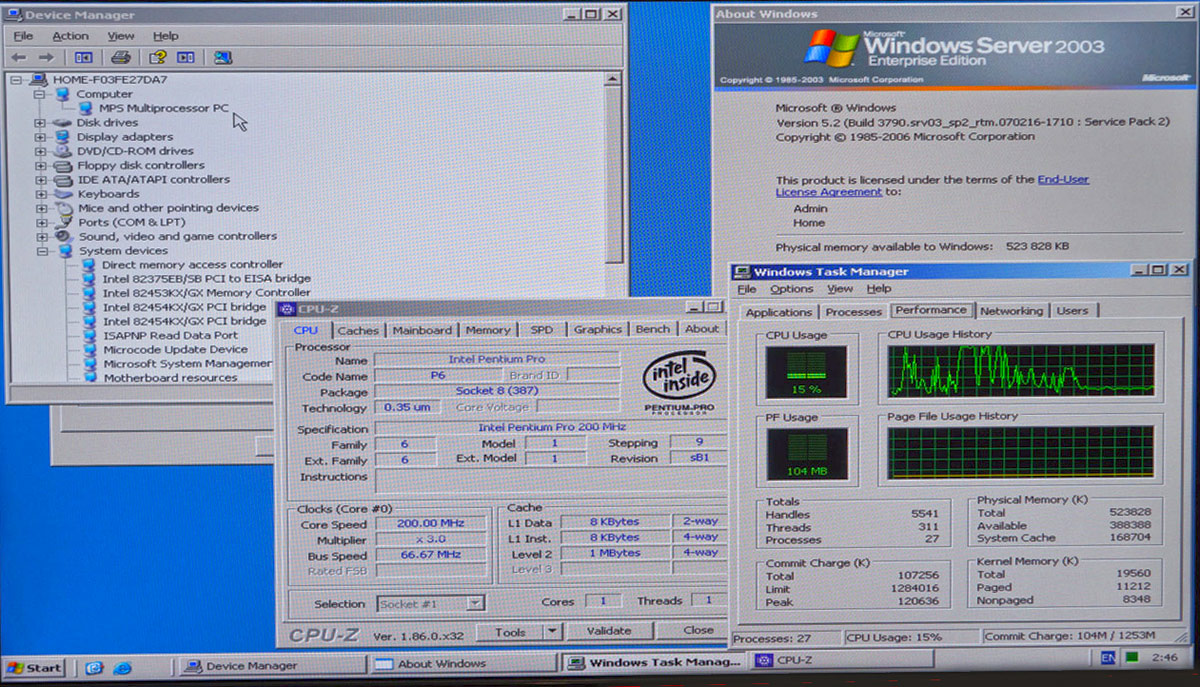
Windows Server 2003 R2 Enterprise Edition was installed and, as I wrote above, the system had one working CPU core.
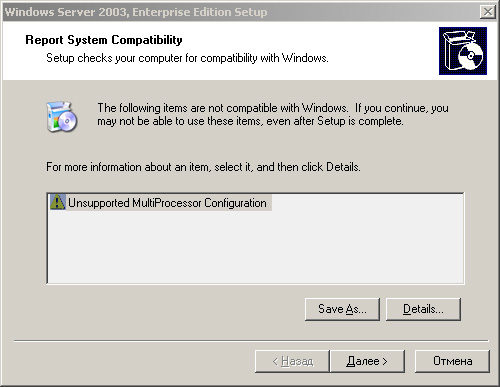
Next, an attempt was made to install the operating system from the operating system itself using the update method, but at the initial stage the Windows Server 2003 Enterprise Edition installer warned me that a multiprocessor configuration not supported by the operating system was used.
But there are many ways to install the OS. Alternatively, I tried the OS “transfer method” with a known-workable SMP configuration. Taking the ASUS P2L97-DS motherboard on an Intel 440LX chipset with a pair of Intel Pentium-II with a frequency of 450 MHz, which should be deprived of a hardware error and chose the “MPS Multiprocessor PC” core, but the installation process did not start at the stage of copying the original files, reaching until installation on the hard disk. At this point, the system hung, not reaching the choice of the installation source. Much has been tried, loops, different drives and RAM, but all to no avail. At this point, a single Pentium-3 was also hanging on the Asus P3B-F motherboard (Intel 440BX chipset).
In the end, I decided to take another board with two SLOT 1 connectors – Asus P2B-D (Intel 440BX chipset) and a pair of Intel Pentium-III. OS Windows Server 2003 R2 Enterprise Edition was safely installed, it remains to transfer it to a six-processor server. As a result, having moved the necessary hard drive, I decided to do the first boot in “safe mode” in order to exclude the influence of different devices of both systems on each other, but as a result I received a BSOD.
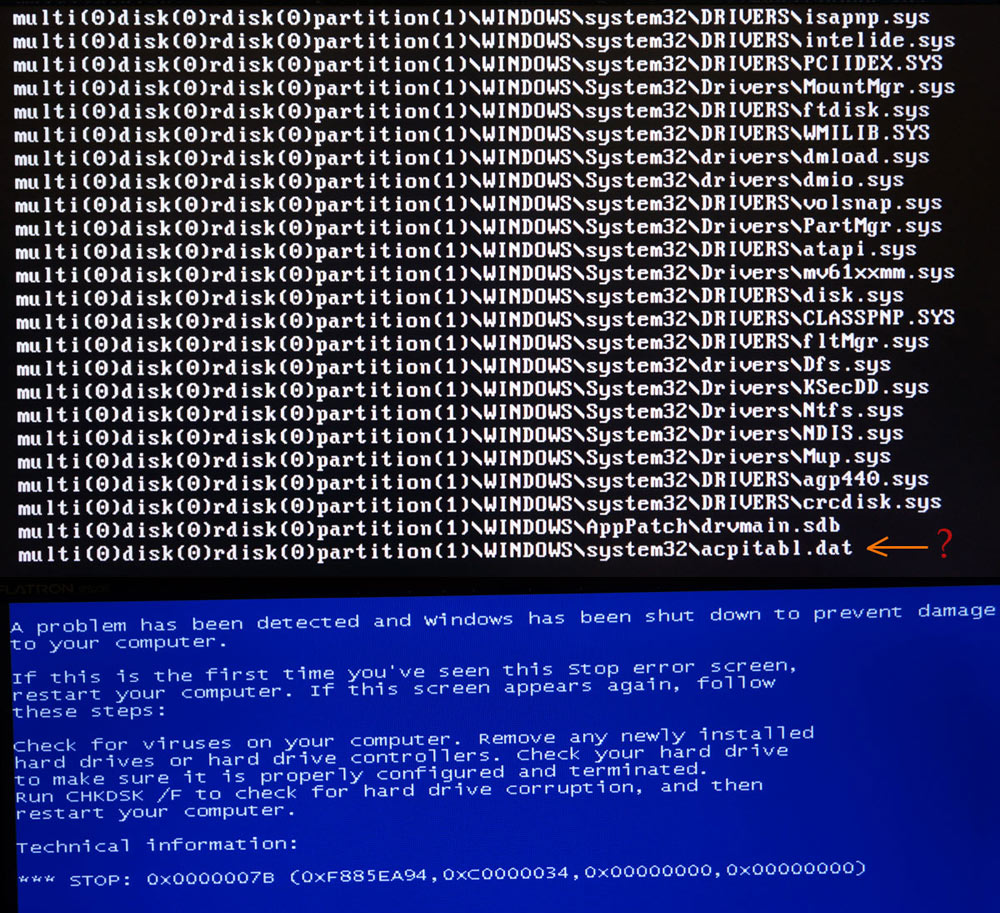
You haven’t truly experienced Windows until you get a BSoD
The stop ended with the file “acpitabl.dat”, but the multiple ways to solve it did not lead to success, including the simplest one — deleting the update.sys file from the drivers folder. But the point here is not at all in ACPI, as it seems to me, but most likely in different south bridges of both systems.
What is left then to do? The answer is to level the odds of both systems using a discrete controller. Installing the OS on a pair of PCI-SATA controllers ended in failure, but with the Adaptec AHA-2940 SCSI controller everything was fine and later loaded on the server. But having booted and saw the desktop, I again saw the old picture – one core!
Working ideas on how to make something work that should not work, I didn’t have anything left but to do OS disassembly, but it would take years for this implementation

Still stuck with one core!
Then we will come to the aid of a method known as “software reverse engineering” and the implementation of various parts of different operating systems into the final test OS. I started doing this over the next month.
This method consisted in exploring the beta versions of the operating system from which Windows Server 2003 and its subspecies subsequently arose. It all started with the study materials of the resource Betaarchive.com, where all the beta builds of the operating system of interest to us are collected.
Prior to the sale, the Windows Server 2003 development project began with an OS with the code name “Whistler Server”, which was based on the Windows XP kernel. By the way, Windows XP with SP3 installed on six Pentium Pro wi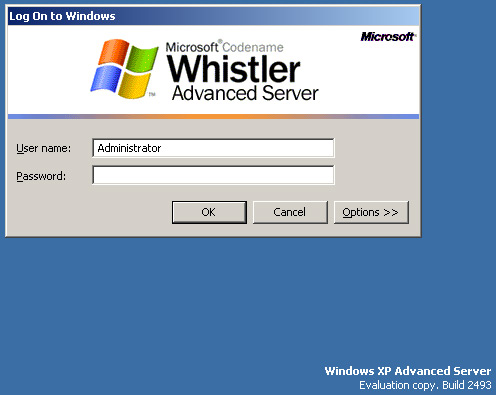 thout any problems, but only two cores were available for the system. This leads to certain reflections on the possibility of the system working with more than one processor. It turns out the limitations of Windows Server 2003 lie somewhere in the source codes of its libraries, naturally in which ones I did not know.
The process of developing Windows Server 2003 took place in several stages. In early 2000, the development of the next operating system after Windows 2000 – Windows 5.1, codenamed “Whistler 2002”, began. Initially, the Whistler project developed along the lines of Windows 2000 — the Professional, Personal (Home), Server (Standard Server) and Advanced Server versions were planned. But at a certain stage of development it turned out that the process of creating client versions was so successful, and by the summer of 2001, Windows XP Pro and Home were 99% ready. The server components were far from perfect. In addition, the core architecture of Windows XP had some flaws that made it not the best option for a high-load server environment. Therefore,
6 CPUs in Windows!
Microsoft refused to release server versions of XP (5.1.2600), and allocated a server system to a new branch – Windows .NET Server 2002/2003. Subsequently, from Windows. NET Server and appeared familiar to all Windows Server 2003.
I decided to start the experiment with the latest build of the Whistler Server – 2493, since significant changes were made in subsequent builds starting from 3501. As a result, the Whistler Server build 2493 was successfully installed and I saw the interesting login screen on the monitor.
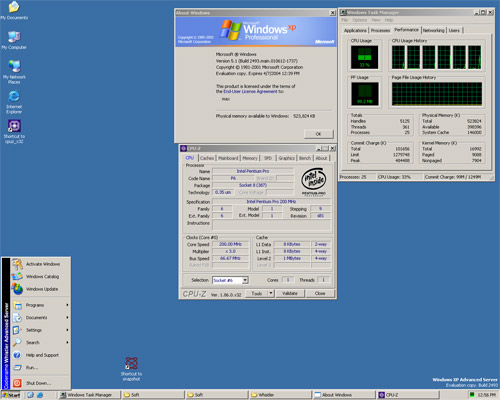
After logging in and seeing the OS desktop, I immediately launched Windows Task Manager. Before me were six working processors. It was the first small victory.
The program that takes screenshots in PNG made its first screenshot, this event made me happy, but some other benchmarks again could not find the entry point to the procedure in the “kernel32.dll” library. But the Java installer didn’t curse anymore, but simply demanded to continue the installation of Windows Installer version 2.0, and 3DMark 2006 asked for a set of DX9.1 libraries and so on. In order not to look for a solution to this problem, I proceeded to install the next build 3505. But after two attempts to install the OS, I received a fatal error during the installation phase:
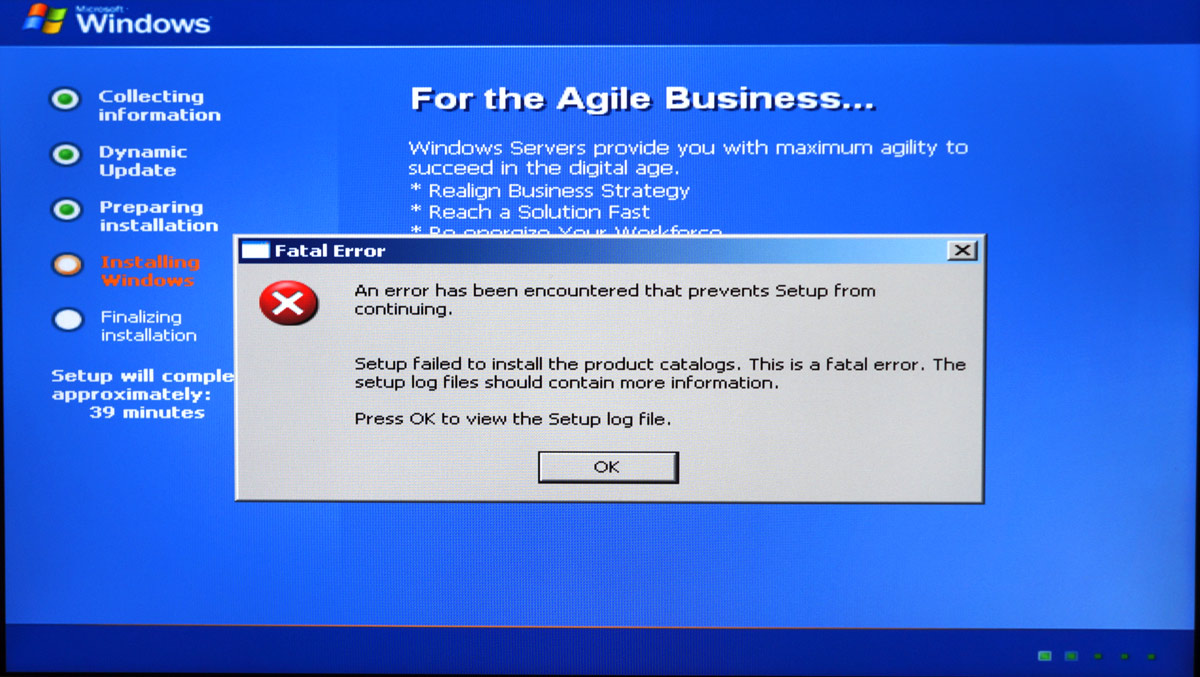
Fatal Error – Thankfully there will be life after death for this server.
So, going from build 2493 to 3505, significant changes were made to the OS distribution kit. If you look at the photo, you can see that the installer layout exactly repeats the interface of Windows XP. The installer has not yet acquired a dark gray theme like the Windows Server 2003.
Despite the setback, I decided to continue and took build 3718, which already belonged to the early build of Windows .NET Server.
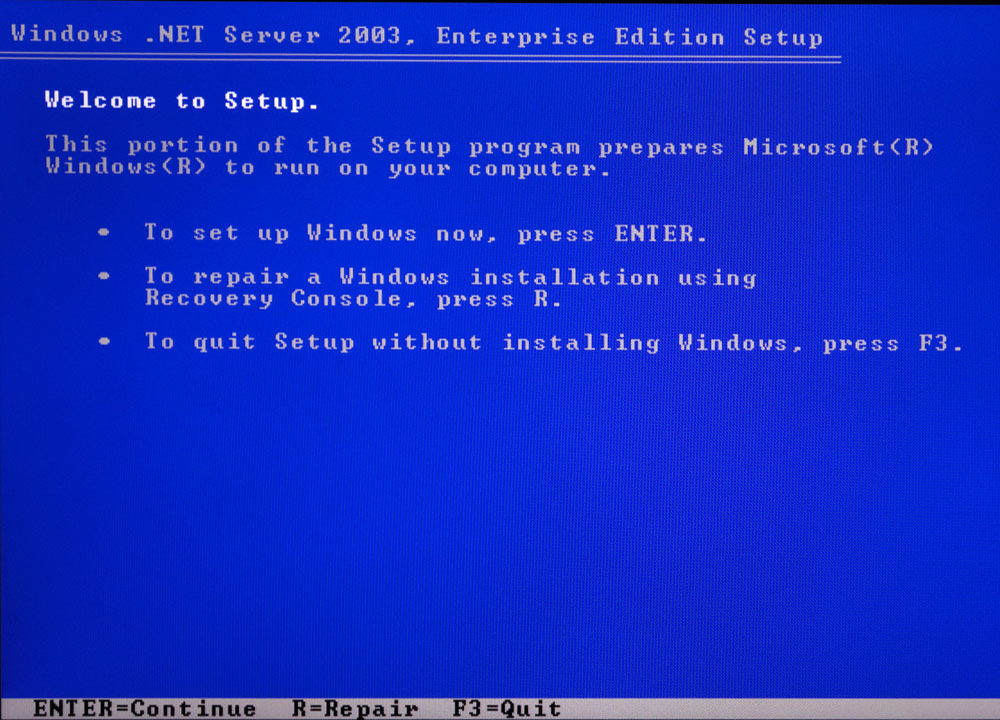
In the process of installing fatal errors did not occur, the OS was established in normal mode. The graphical shell has undergone changes, the gamma has changed to the usual dark gray background for the server OS.
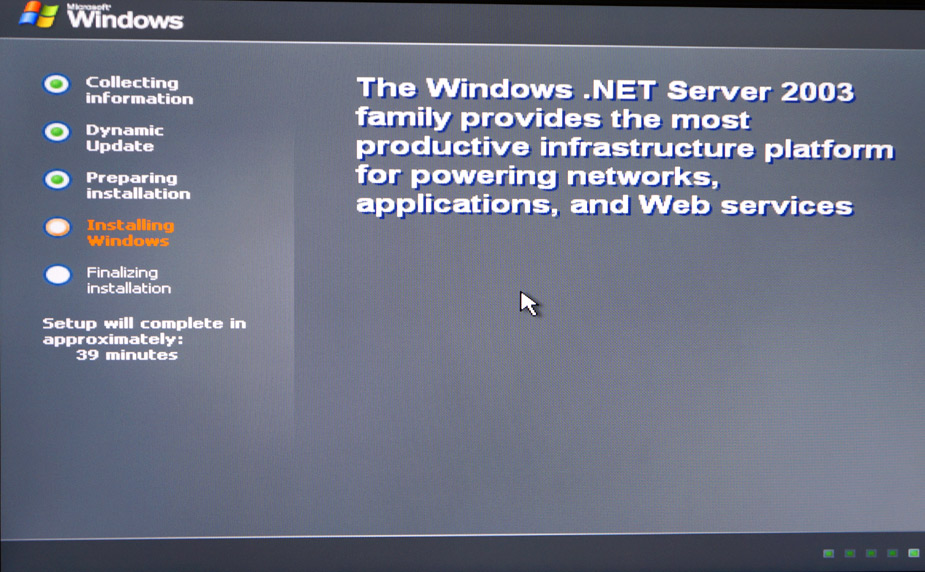
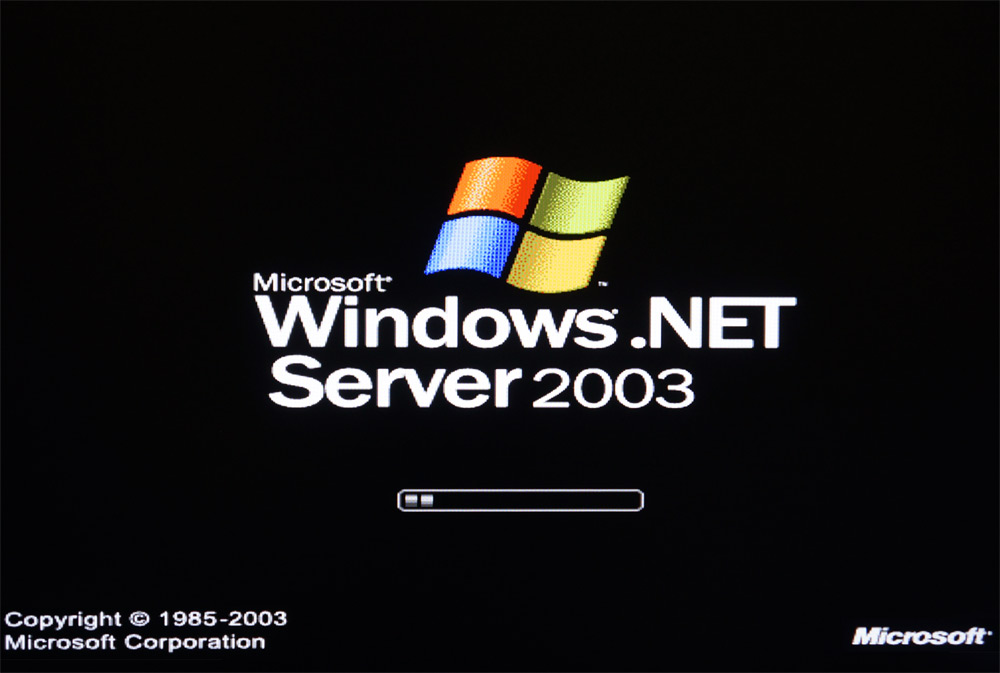
The name of the OS also changed to Windows .NET Server 2003 and the OS boot progress slider also changed its color from green to gray.
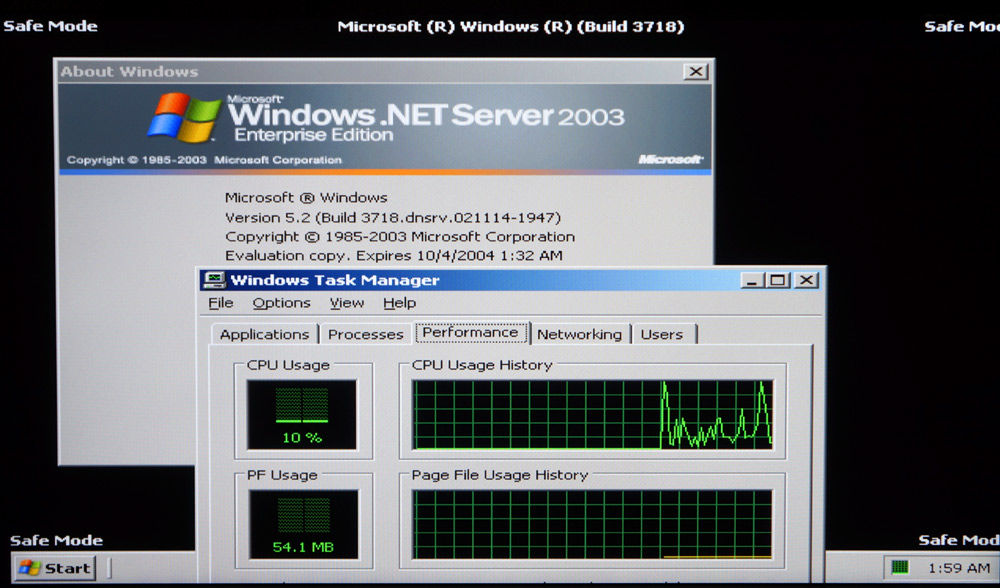
But every time I tried to boot the OS in normal mode, every time I got a black screen and no signs of system activity. In the save mode, the operating system showed me a desktop, but when I ran, probably for the hundredth time, Task Manager, I saw one core. Hence, at this stage, restrictions were already introduced at the OS level in terms of the number of working CPUs due to a hardware error. Subsequent builds make no sense to check.
So, it took you just a few minutes to read the above, but I had a week to go. After considering a plan for further action, I decided to return to the working build 2493, since I had no other option.
 The further plan was to try installing the 2493 Service Pack 1 from the usual Windows XP on the build, thus “upgrading” our beta version of the server OS. There could be two outcomes of events: the first – the files from the first service pack will replace the files responsible for SMP and at the output we will get one CPU again, and the second – the files will not affect this OS chip.
Prior to launching the Service Pack 1 installer, it completely fell out of memory that the service pack installer checks the OS build number and if it is lower than the final 2600, the installation stops. I started to solve the problem with the first service pack with the simplest, unzipped its contents, found the update.ini file that is responsible for the installation conditions and changed one variable in it, as a result of which the SP1 installation went, but 20 seconds later ended with a rollback.
The protection mechanism of the digital signature of the cryptography service, responsible for the integrity of the files in the service pack, worked, and since one file (update.ini) was changed, the installer rolled everything back. Of course, it was possible to try to tinker with the re-signing of the distribution, but the time costs would have delayed all our plans. The presence of such a clever protection system is not accidental, everything was done so that unauthorized persons could not integrate their malware into the distribution, but this news made me continue to work on solving a new problem.
The backup option was to make changes to the OS registry so that the installer of the service pack thought that it was dealing with the operating system build – 2600. It is said – done, the changes were made, and all the software reported that it deals with build 2600, but the SP1 installer you can’t fool, he apparently took information about the OS version and the build from the OS kernel files that are in RAM and could not be replaced.
Immediately, it was decided to take the RTM (Release to Market) version of Wind
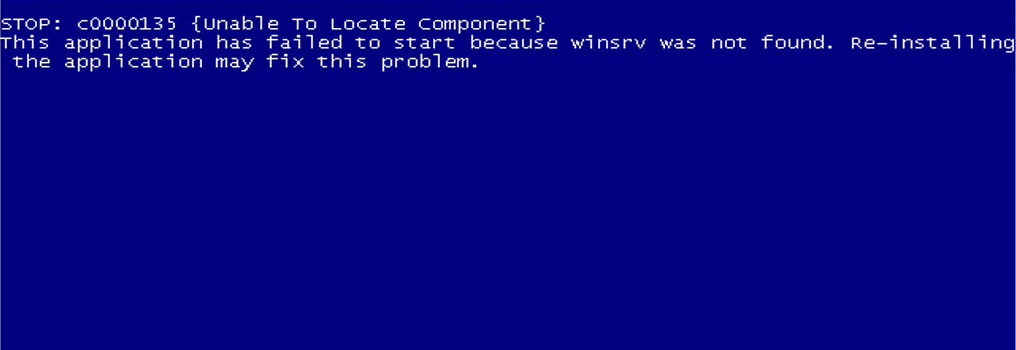
STOP: You shall not Pass!
ows XP without a service pack and try to replace the kernel files, individual drivers and services that are loaded automatically, including in the safe mode. Immediately, NTOSKRNL, HAL, NTDLL, KERNEL32, LSASS, CSRSS, SMSS, WINLOGON, MSGINA, etc. were replaced. As a result of the replacement and trial run, the entire boot process hung on the “winsrv.dll” boot, causing another blue screen with the words “STOP: c0000135”.
To try to solve the problem, I alternately replaced this library from other available builds, but it did not bring success. Then followed the transition to plan “B”, which consisted in all the above actions, but using Service Pack 2 for Windows XP. As a result of the experience gained with replacing the dll files from Windows XP SP1, the necessary files were found and replaced, with the result that the installation of Service Pack 2 began!
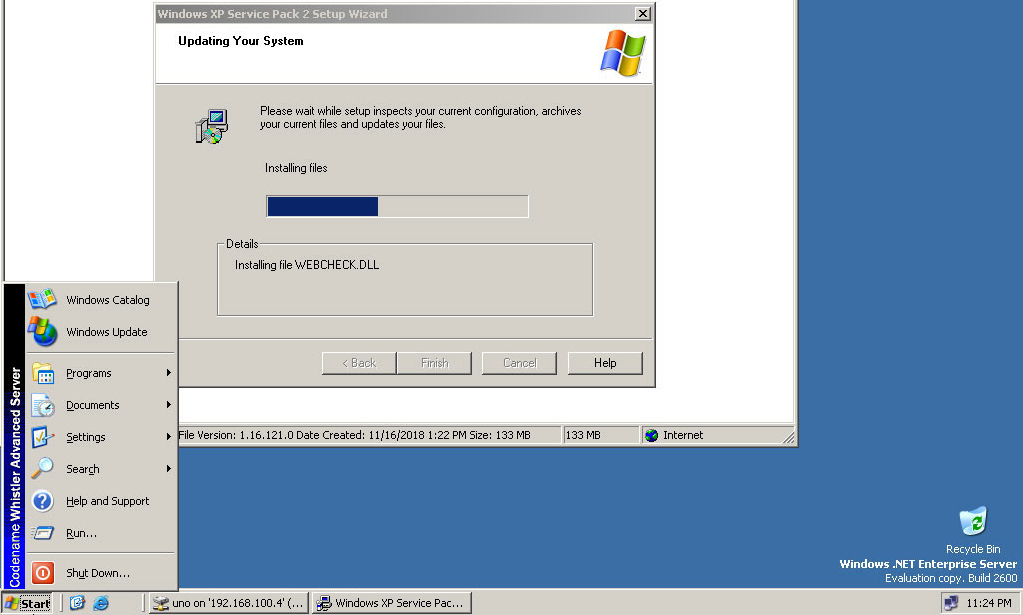
And after a successful installation, I finally saw the long-awaited welcome screen with a wonderful inscription, which in nature simply cannot be: «Windows .Net Enterprise Server. Build 2600 Service Pack 2».
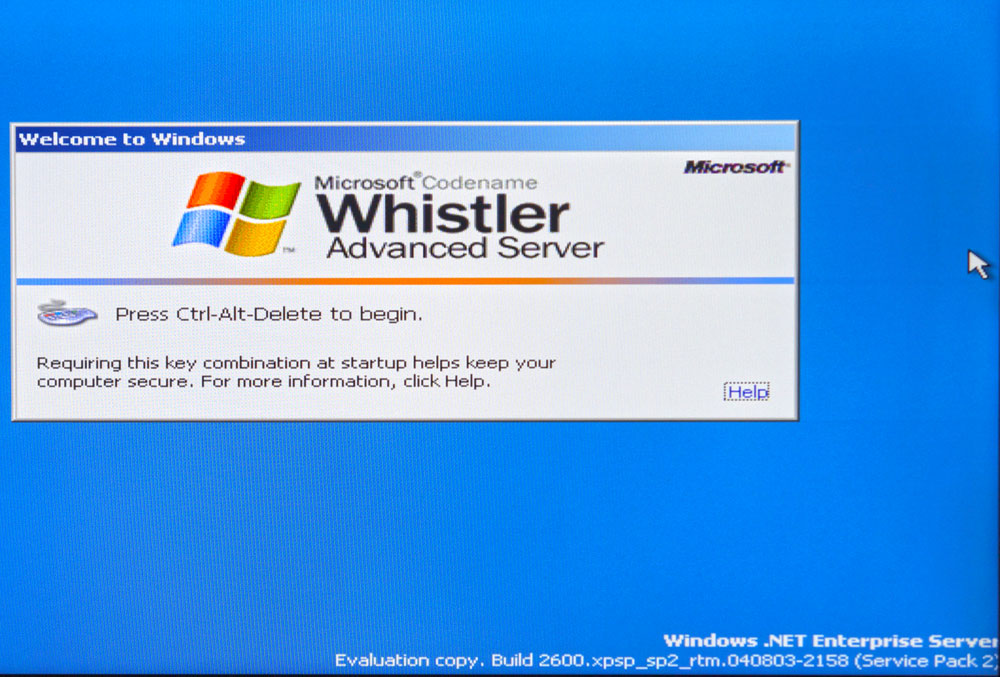
Whistling a happy tune…
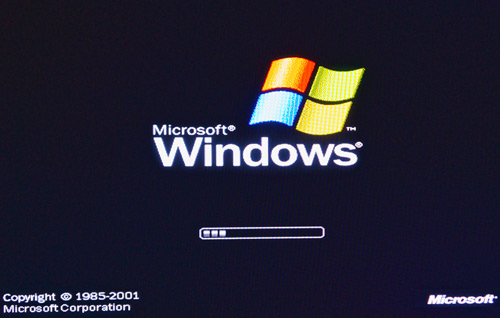
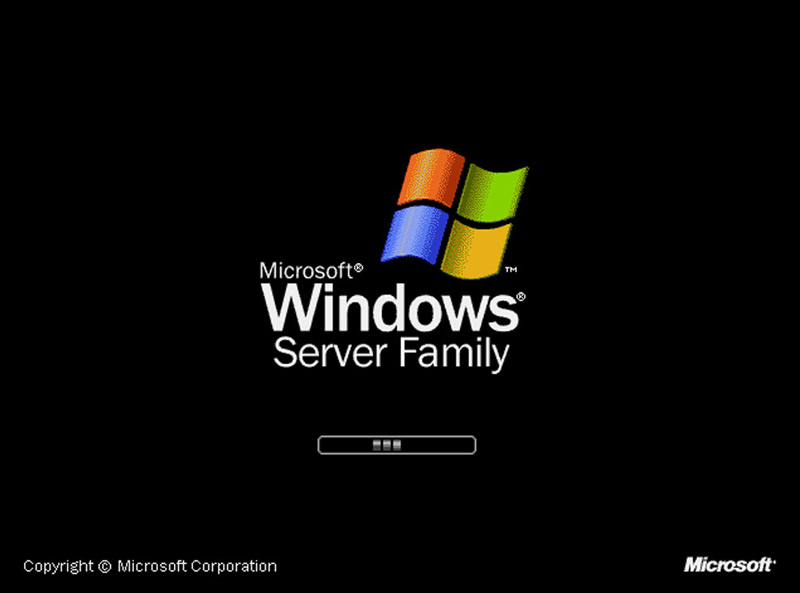
The OS startup screen also changed to look like this:
After that, all six processors appeared in the “Task Manager”. Additionally, Net Framework 2.0, Java 7, Windows Media Player 10 and other modern software that was not available for Windows 2000 Advanced Server was installed. I think this screenshot will say much more than any number of printable characters:
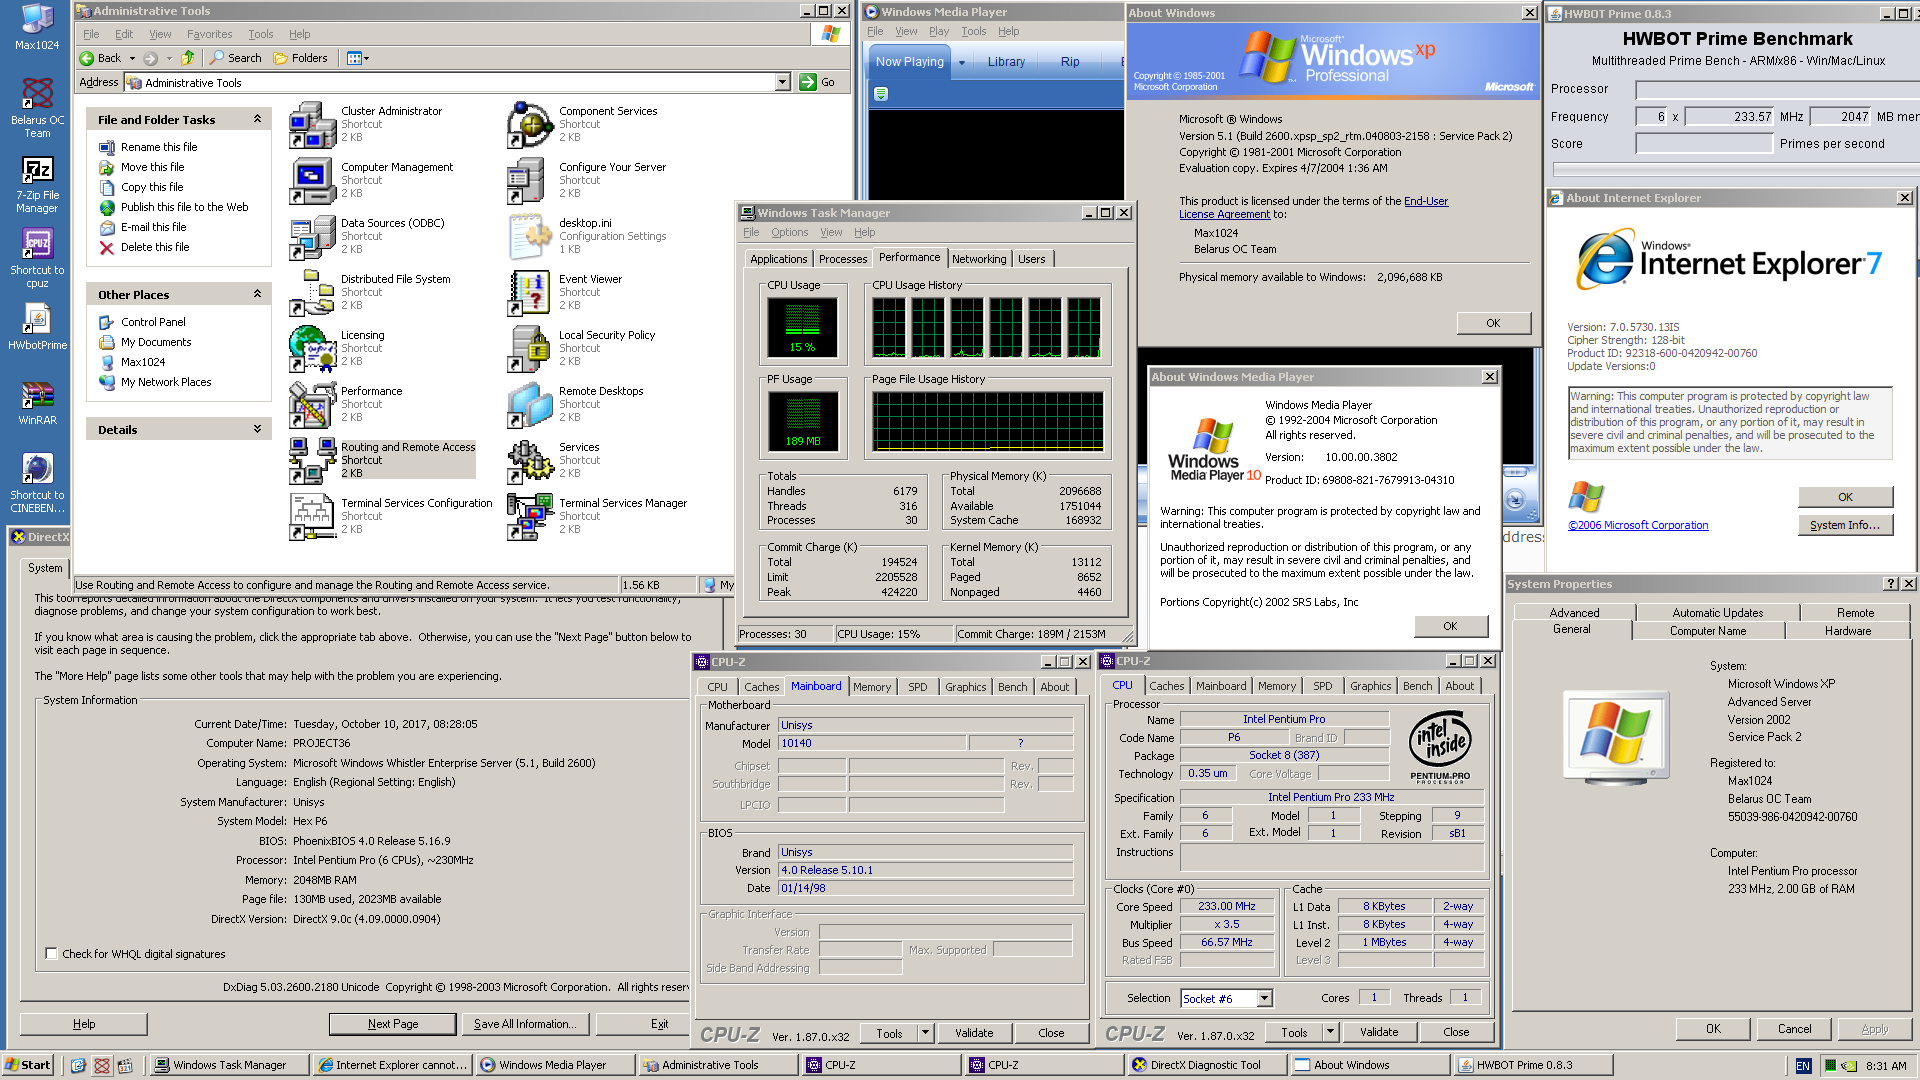
It can be stated that this part of the Project was successfully completed. I never found any similar experiments on the global network, so maybe this will be the first launch of six Pentium Pro on an XP-like operating system. During the test period, this version (not yet named OS) worked stably without a single failure.
It remains to find out what such a monster from the past is capable of, since it is now possible to compare the results made by the same test programs in the same operating system, plus for such a system fantastic opportunities are opening that were not available to it before. For now the link to validation using Microsoft Windows 2000 Advanced Server.
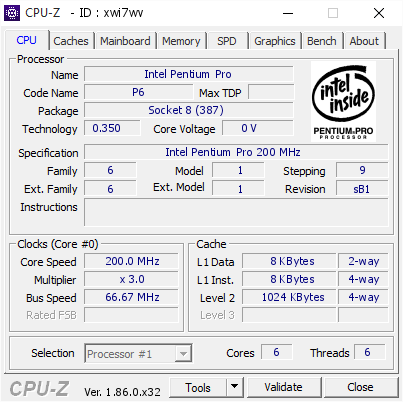
And actually, on the result of the Experiment (http://valid.x86.fr/c7esqi), the OS in this case, the CPU-Z engine identifies as Microsoft Windows XP with Service Pack 2 (Build 2600), but now we know that this is simply impossible But the fact remains.
Afterword
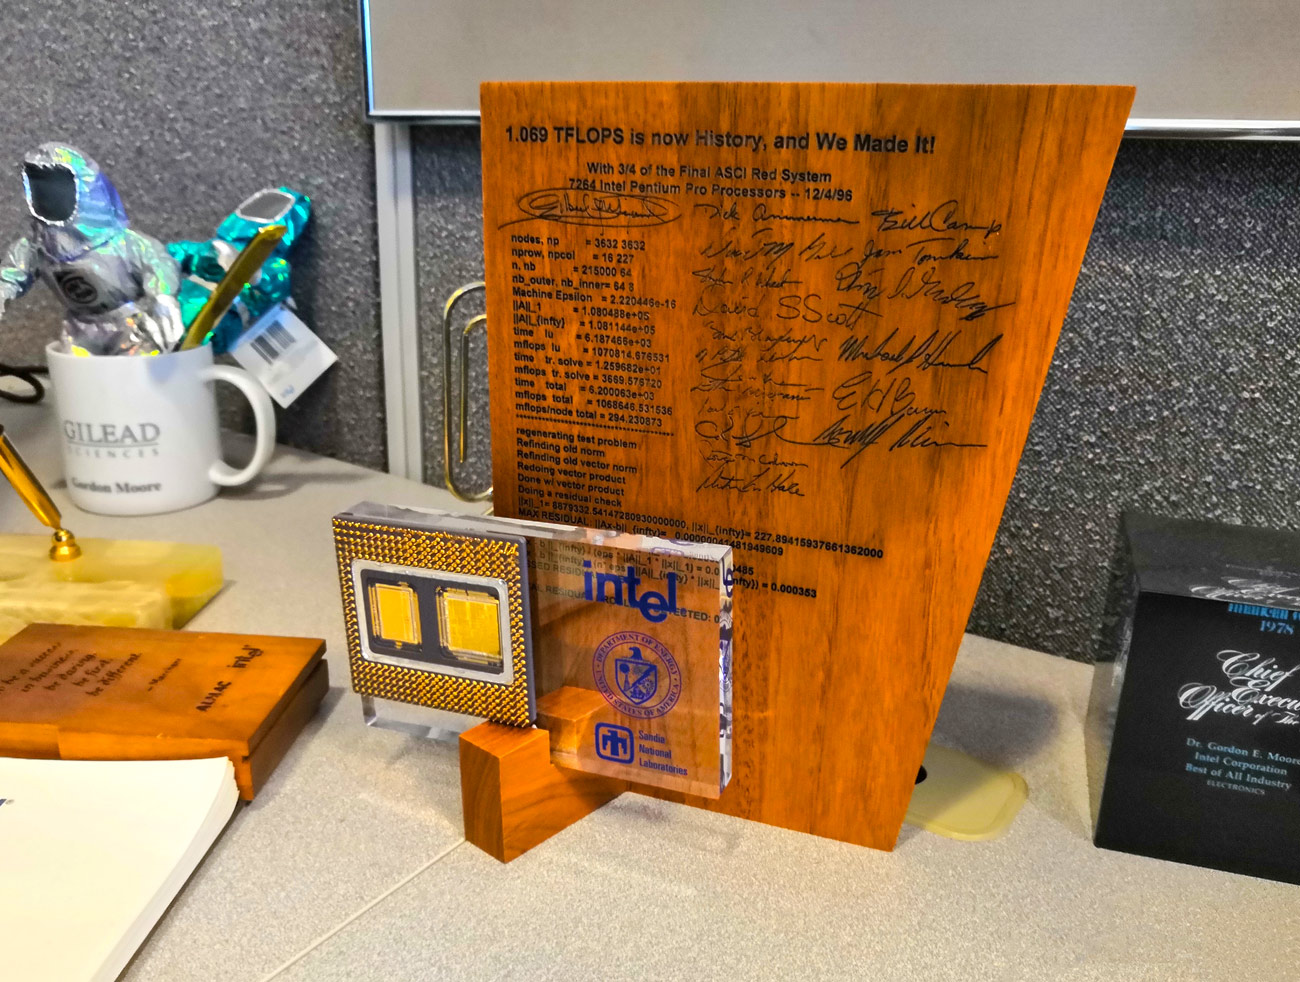 It was Intel ASCI Red that was the first supercomputer to break the TFLOPS line. It consisted of 9152 Pentium Pro with 1 MB of cache memory of the second level with a clock frequency of 200 MHz. Its cost was $55 million US dollars. The main purpose of the machine was to monitor the US nuclear arsenal after the moratorium on nuclear testing was announced in October 1992.
Partly thanks to Intel ASCI Red, a unique processor with a Socket 8 connector and the power of a Pentium II – Pentium II OverDrive with a frequency of 333 MHz was born. “Charged” Intel ASCI Red second version after an upgrade with a margin doubled the performance of its predecessor, bringing it to the value – 2.38 TFLOPS in the Linpack test. These characteristics allowed Intel ASCI Red to retain the title of the fastest supercomputer from June 1997 to mid- 2000. These facts and events for centuries are immortalized on the desktop of Gordon Moore, the author of the law of the same name, the basis of which increases the number of transistors on a microprocessor chip with time.
I’ll make a little pause for a while and rest for a while, and then I’ll continue, you can have a cup of coffee at this time 😉
Then, as promised, the story about the hardware component of the ALR Revolution 6×6 6-processor superserver, a description of its BIOS capabilities, as well as multiprocessor tests and a comparison with the performance of modern HEDT (High End DeskTop) six-core from Intel, and of course overclocking, will be waiting for you!
In Part 3 we will get into the hardware of the ALR 6×6, how it is built, and how they made 6x Pentium Pros work.
Part 1: Mini-Mainframe at Home: The Story of a 6-CPU Server from 1997
Part 2: Mini-Mainframe at Home: Installing a Modern OS
Part 3: Mini-Mainframe at Home: The ALR 6×6 Hardware and BIOS
Part 4: Mini-Mainframe at Home: Benchmarks and Overclocking
December 17th, 2023 at 1:54 pm
How to get Service Pack 2 to work on Windows .NET Server?