
The CPU Shack Gets a Scope
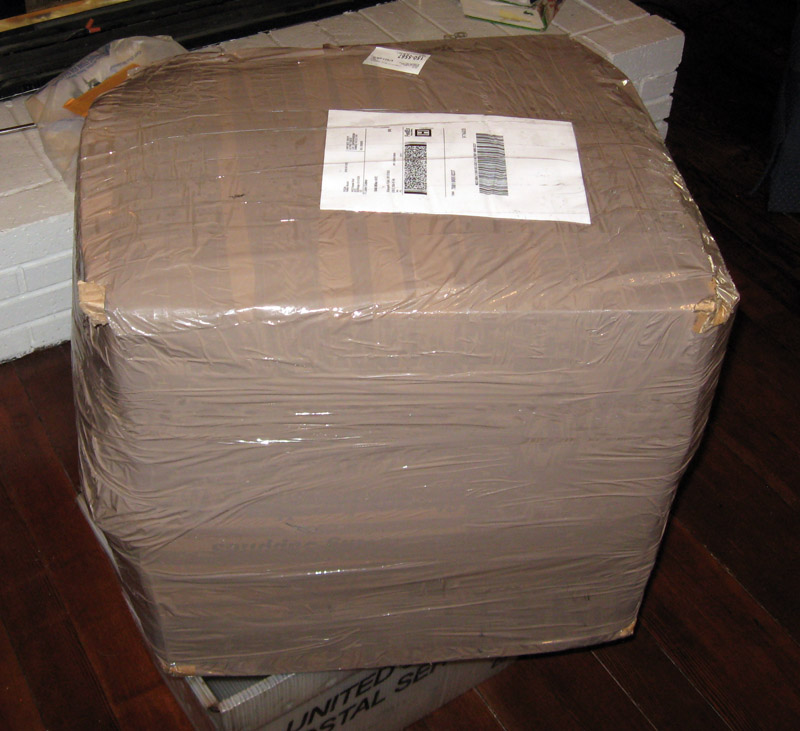
Microscope – Packed with a free roll of tape
For quite some time I have wanted a microscope for the Museum. It would be very useful for inspecting unknown wafers and dies, as well as learning a lot more about EPROM dies. So often one die is used for many devices, often of different sizes or even manufacturers. Recently the Museum also received a whole bunch of MIPS prototypes, mostly all unmarked, and all with open die covers. The only way to positively identify them, and find all the die art that the MIPS designers added, is with a scope.
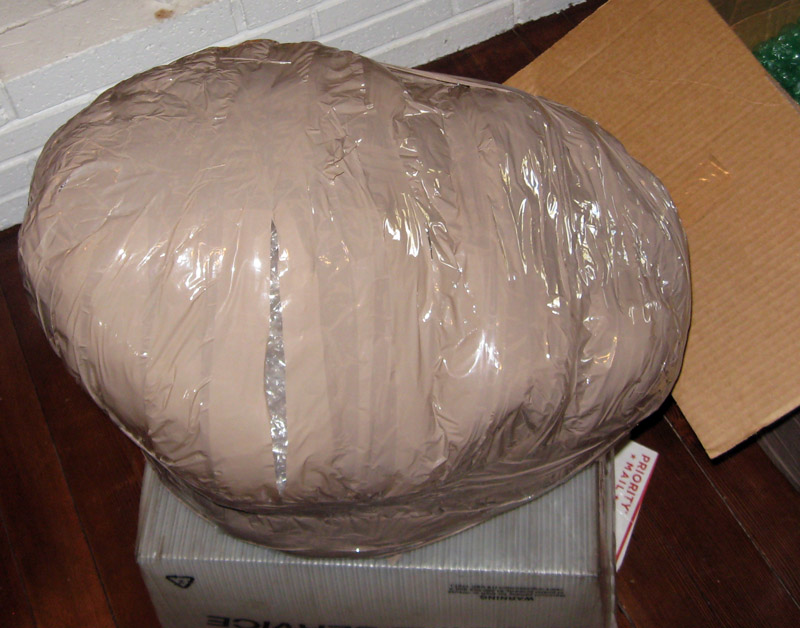
Make that 2 rolls of tape
A good deal on an Accu-Ray 3035 inverted metallurgical scope showed up on eBay. These sell new for over $2000 so at under $400 it was a good deal. Its cost was covered by donations by many other collectors around the world, who are most likely hoping it results in more interesting article and
pretty pictures. Metallurgical scopes are a bit different from your typical microscope. The ‘normal’ scope is a transmitted light device, shining light THROUGH the sample into the objective. Clearly this doesn’t work for opaque and solid items, such as wafers. These need to use reflected light, which is a bit harder to work with. Light is shown on the sample and reflected back into the objective. The Accu-Ray came with 10x, 25x 40x and 60x objectives, though for wafer work 25x really is about the limit of what is needed (and it gets harder to light samples at the higher magnifica
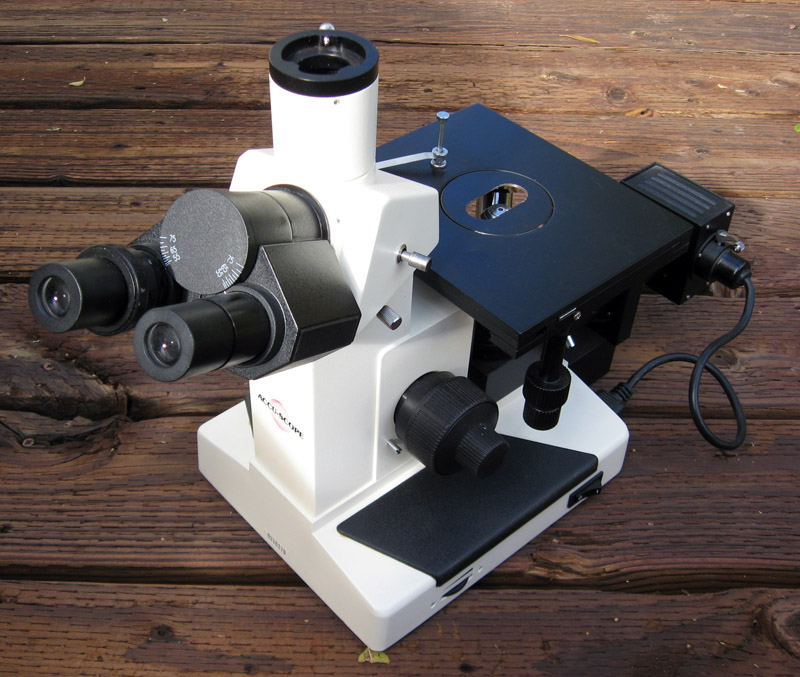
Accu-Ray 3035 Inverted Microscope
tions). The standard eyepieces are 10x so this results in 100x-250x magnification. I have ordered a 4x objective and a 20x as well, which should give a good range. The higher power
objectives have a smaller working distance, meaning they have to be much closer to the wafer/die, that can be tricky when the die is mounted in a package, or several millimeters under a window on an EPROM.
The physics of a microscope are a well understood science, getting light through the scope, to the wafer, and to the eyepiece in a way you can see anything turns out to be more of an art. Dealing with a mirror like silicon surface, glare becomes a huge problem, so that is what I am
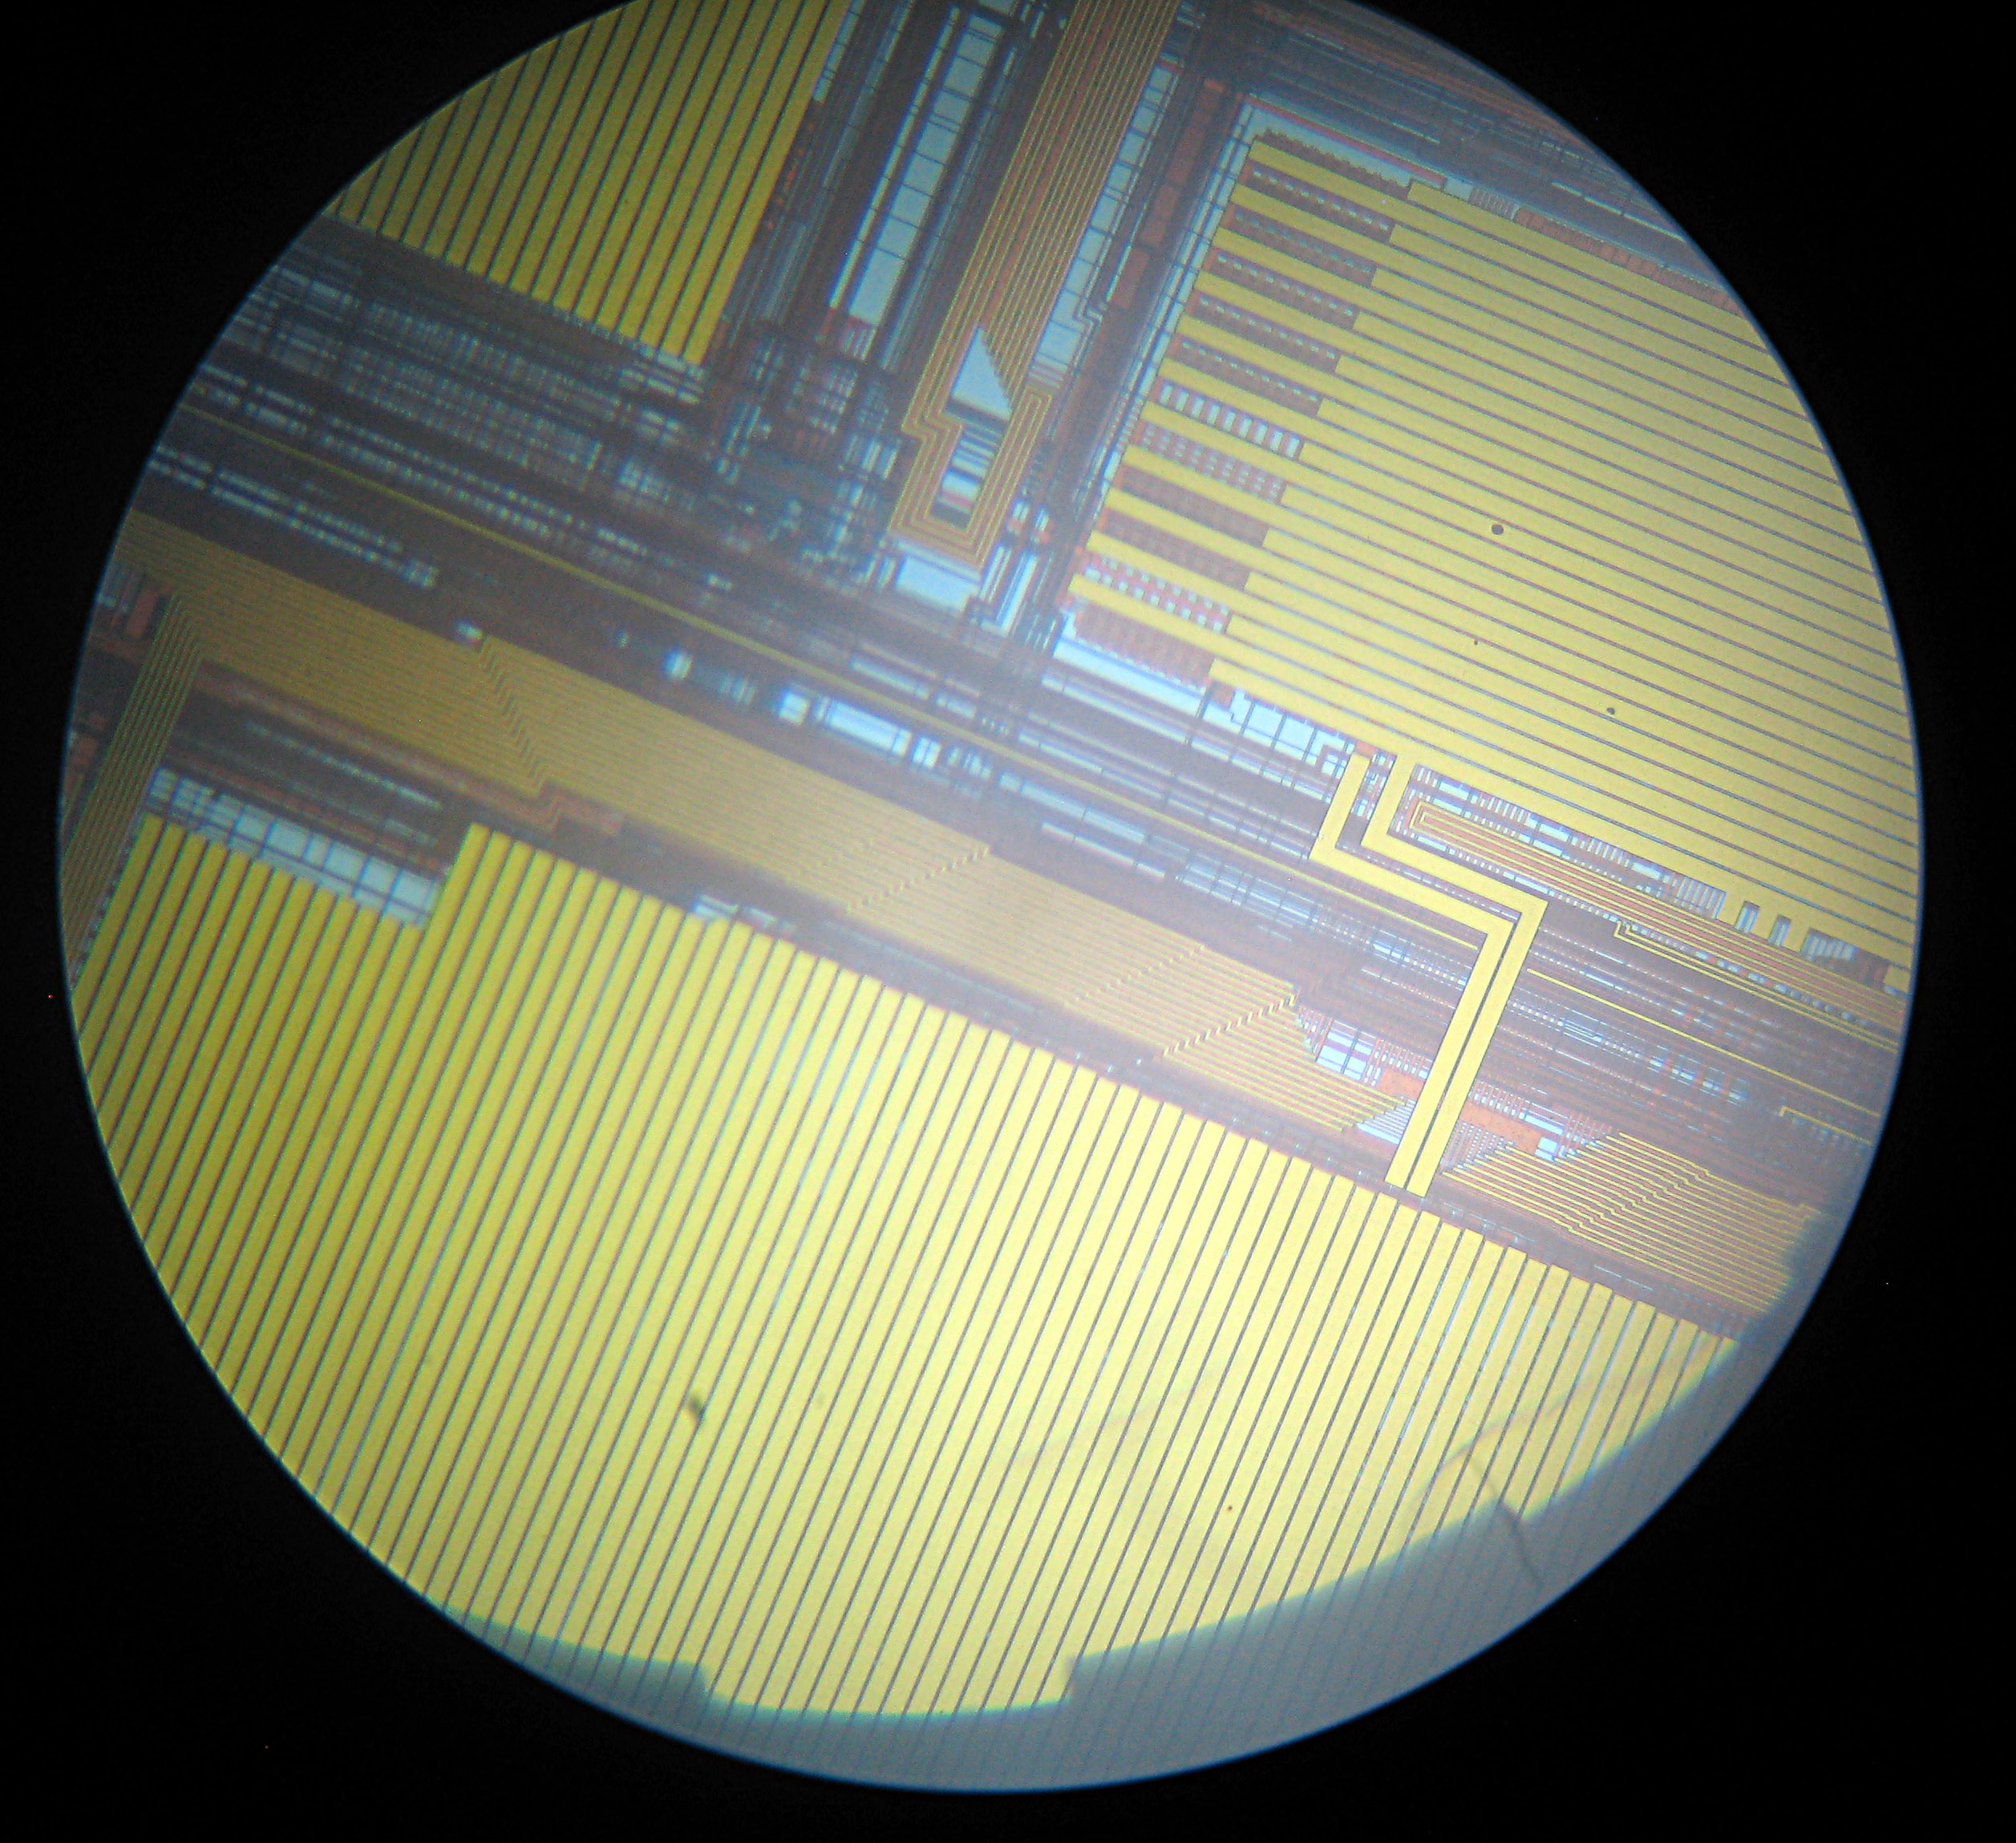
Quick shot through the eyepiece of a MIP R10000
learning about now, how to light the wafers. The included halogen light is very nice and very bright but with wafers results in massive glare that makes seeing the wafer near impossible. Using and LED flashlight (it bolts right up to the scope, surprisingly) results in much more even lighting, albeit less of it. I have ordered a diffuser which should help even out the light from the halogen, hopefully that helps.
As soon as I get a good reliable set up you can look forward to some interesting pictures and hopefully some interesting new information.
Tags:
microscope
Posted in:
Museum News